Home is where the Smark is

Check the board for today’s special

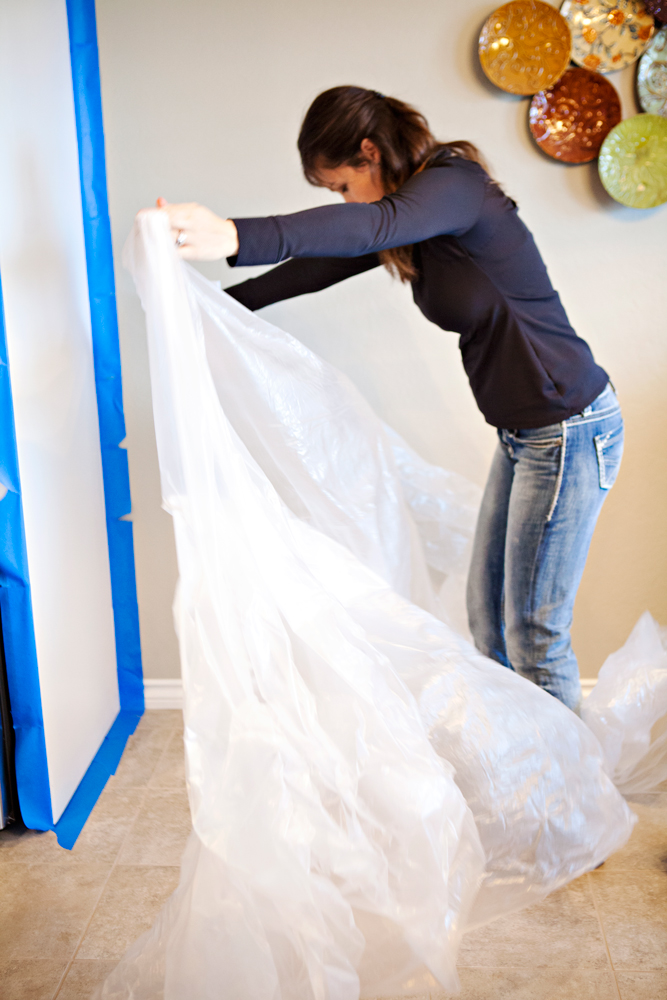
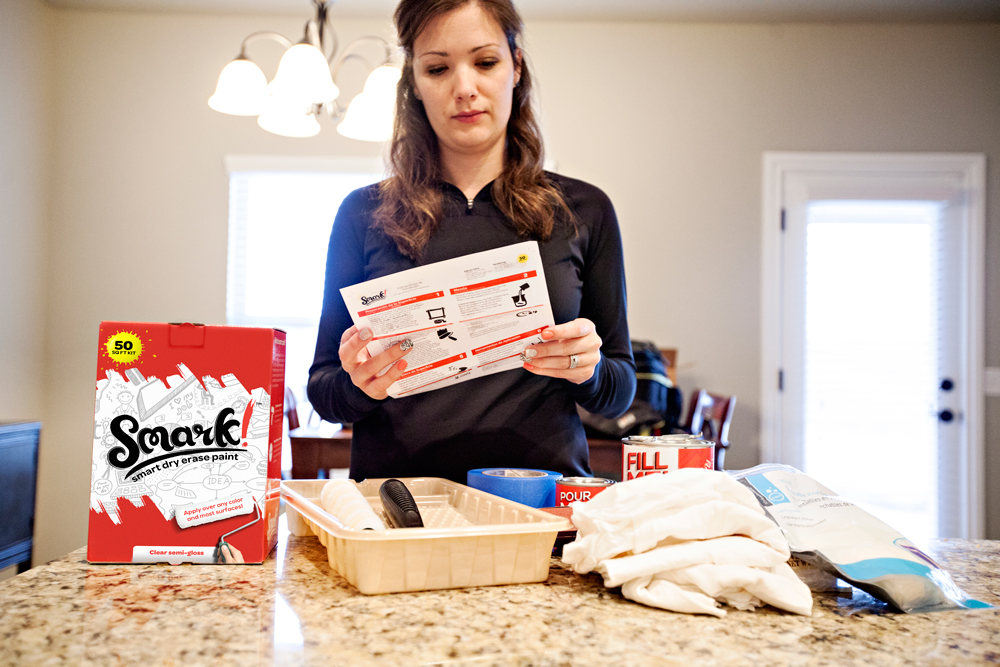
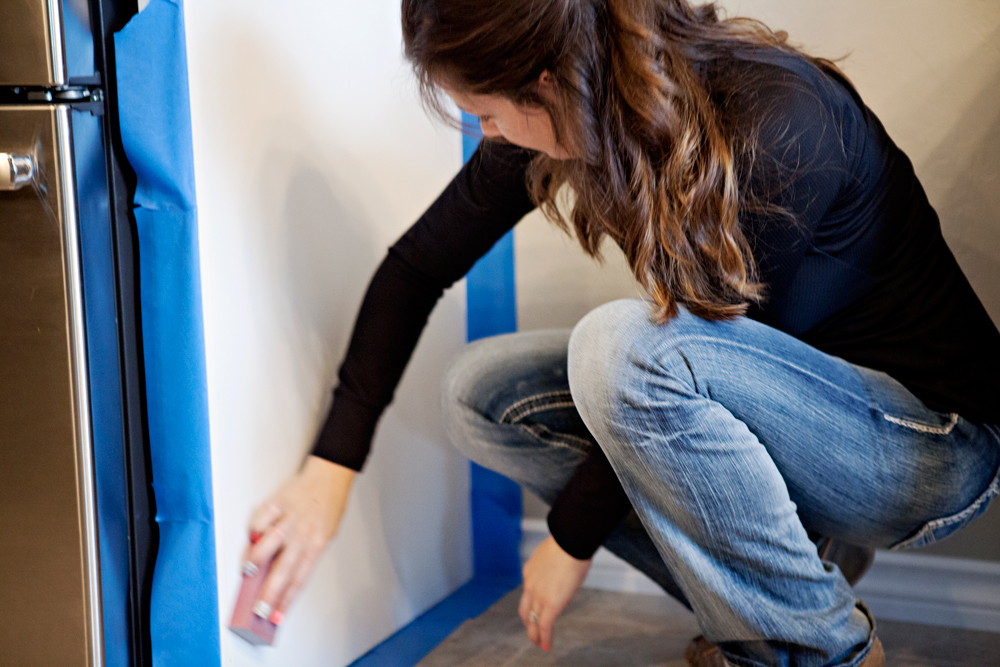
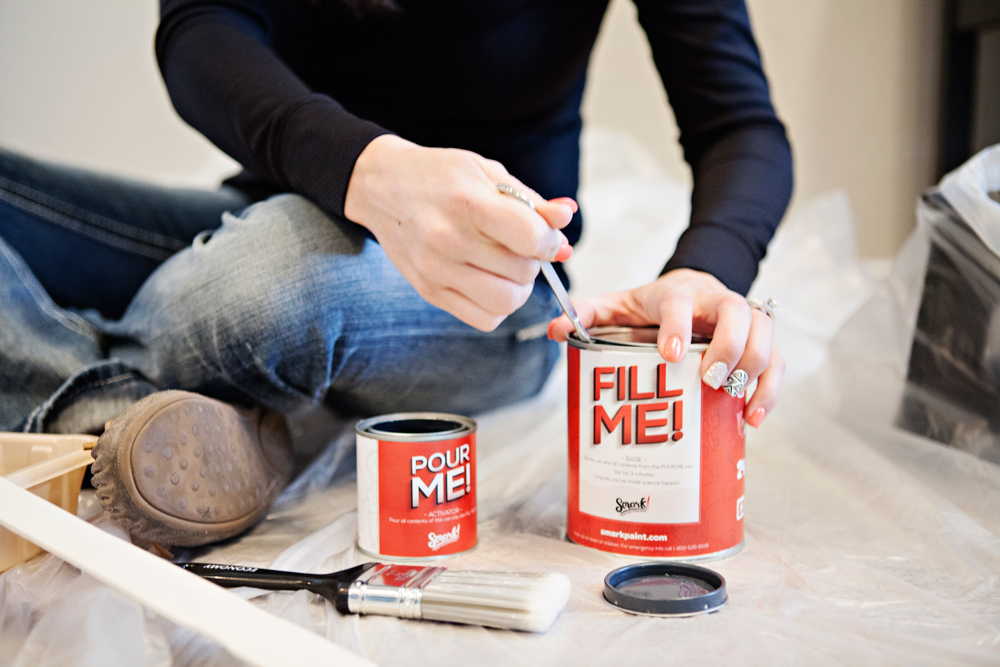
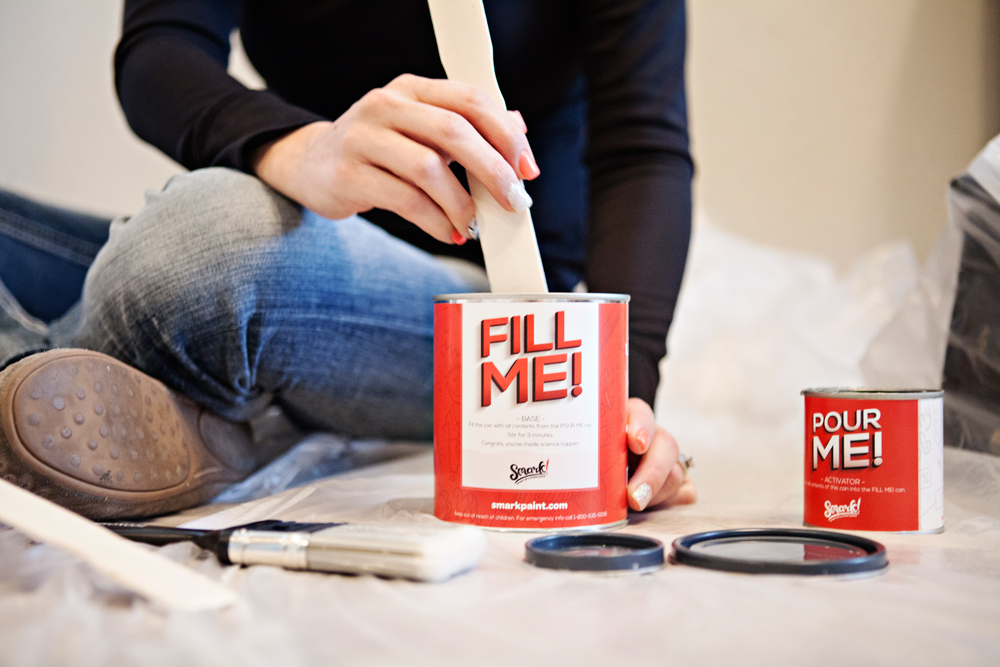
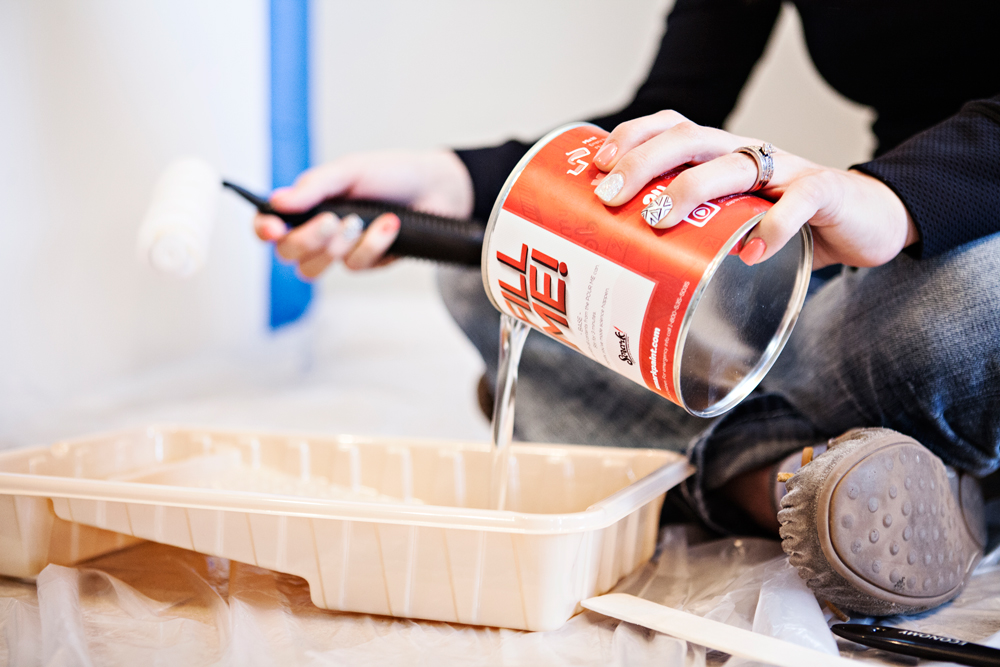
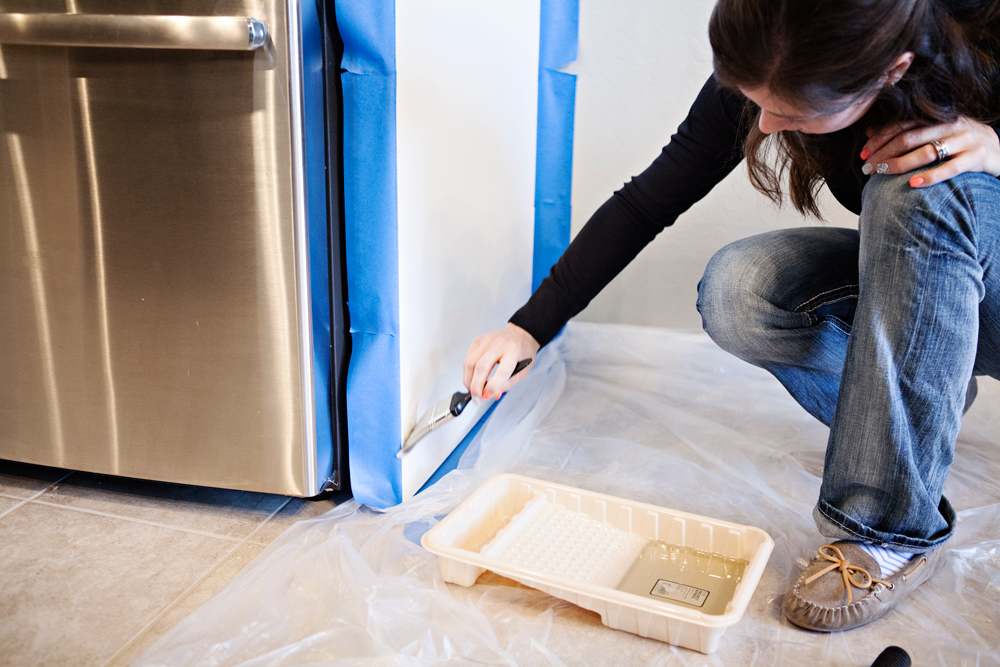
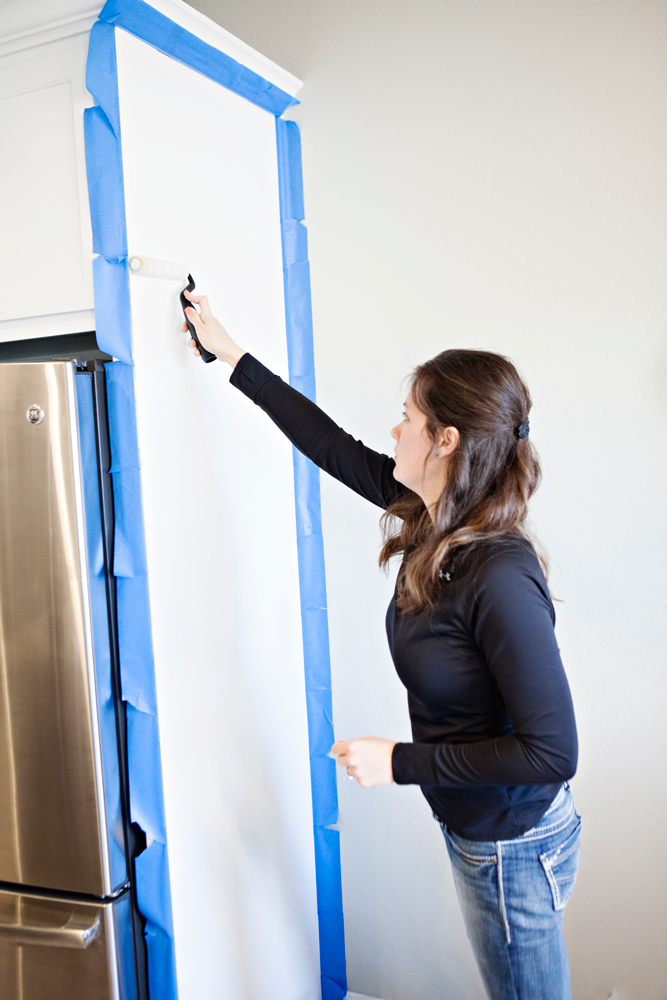
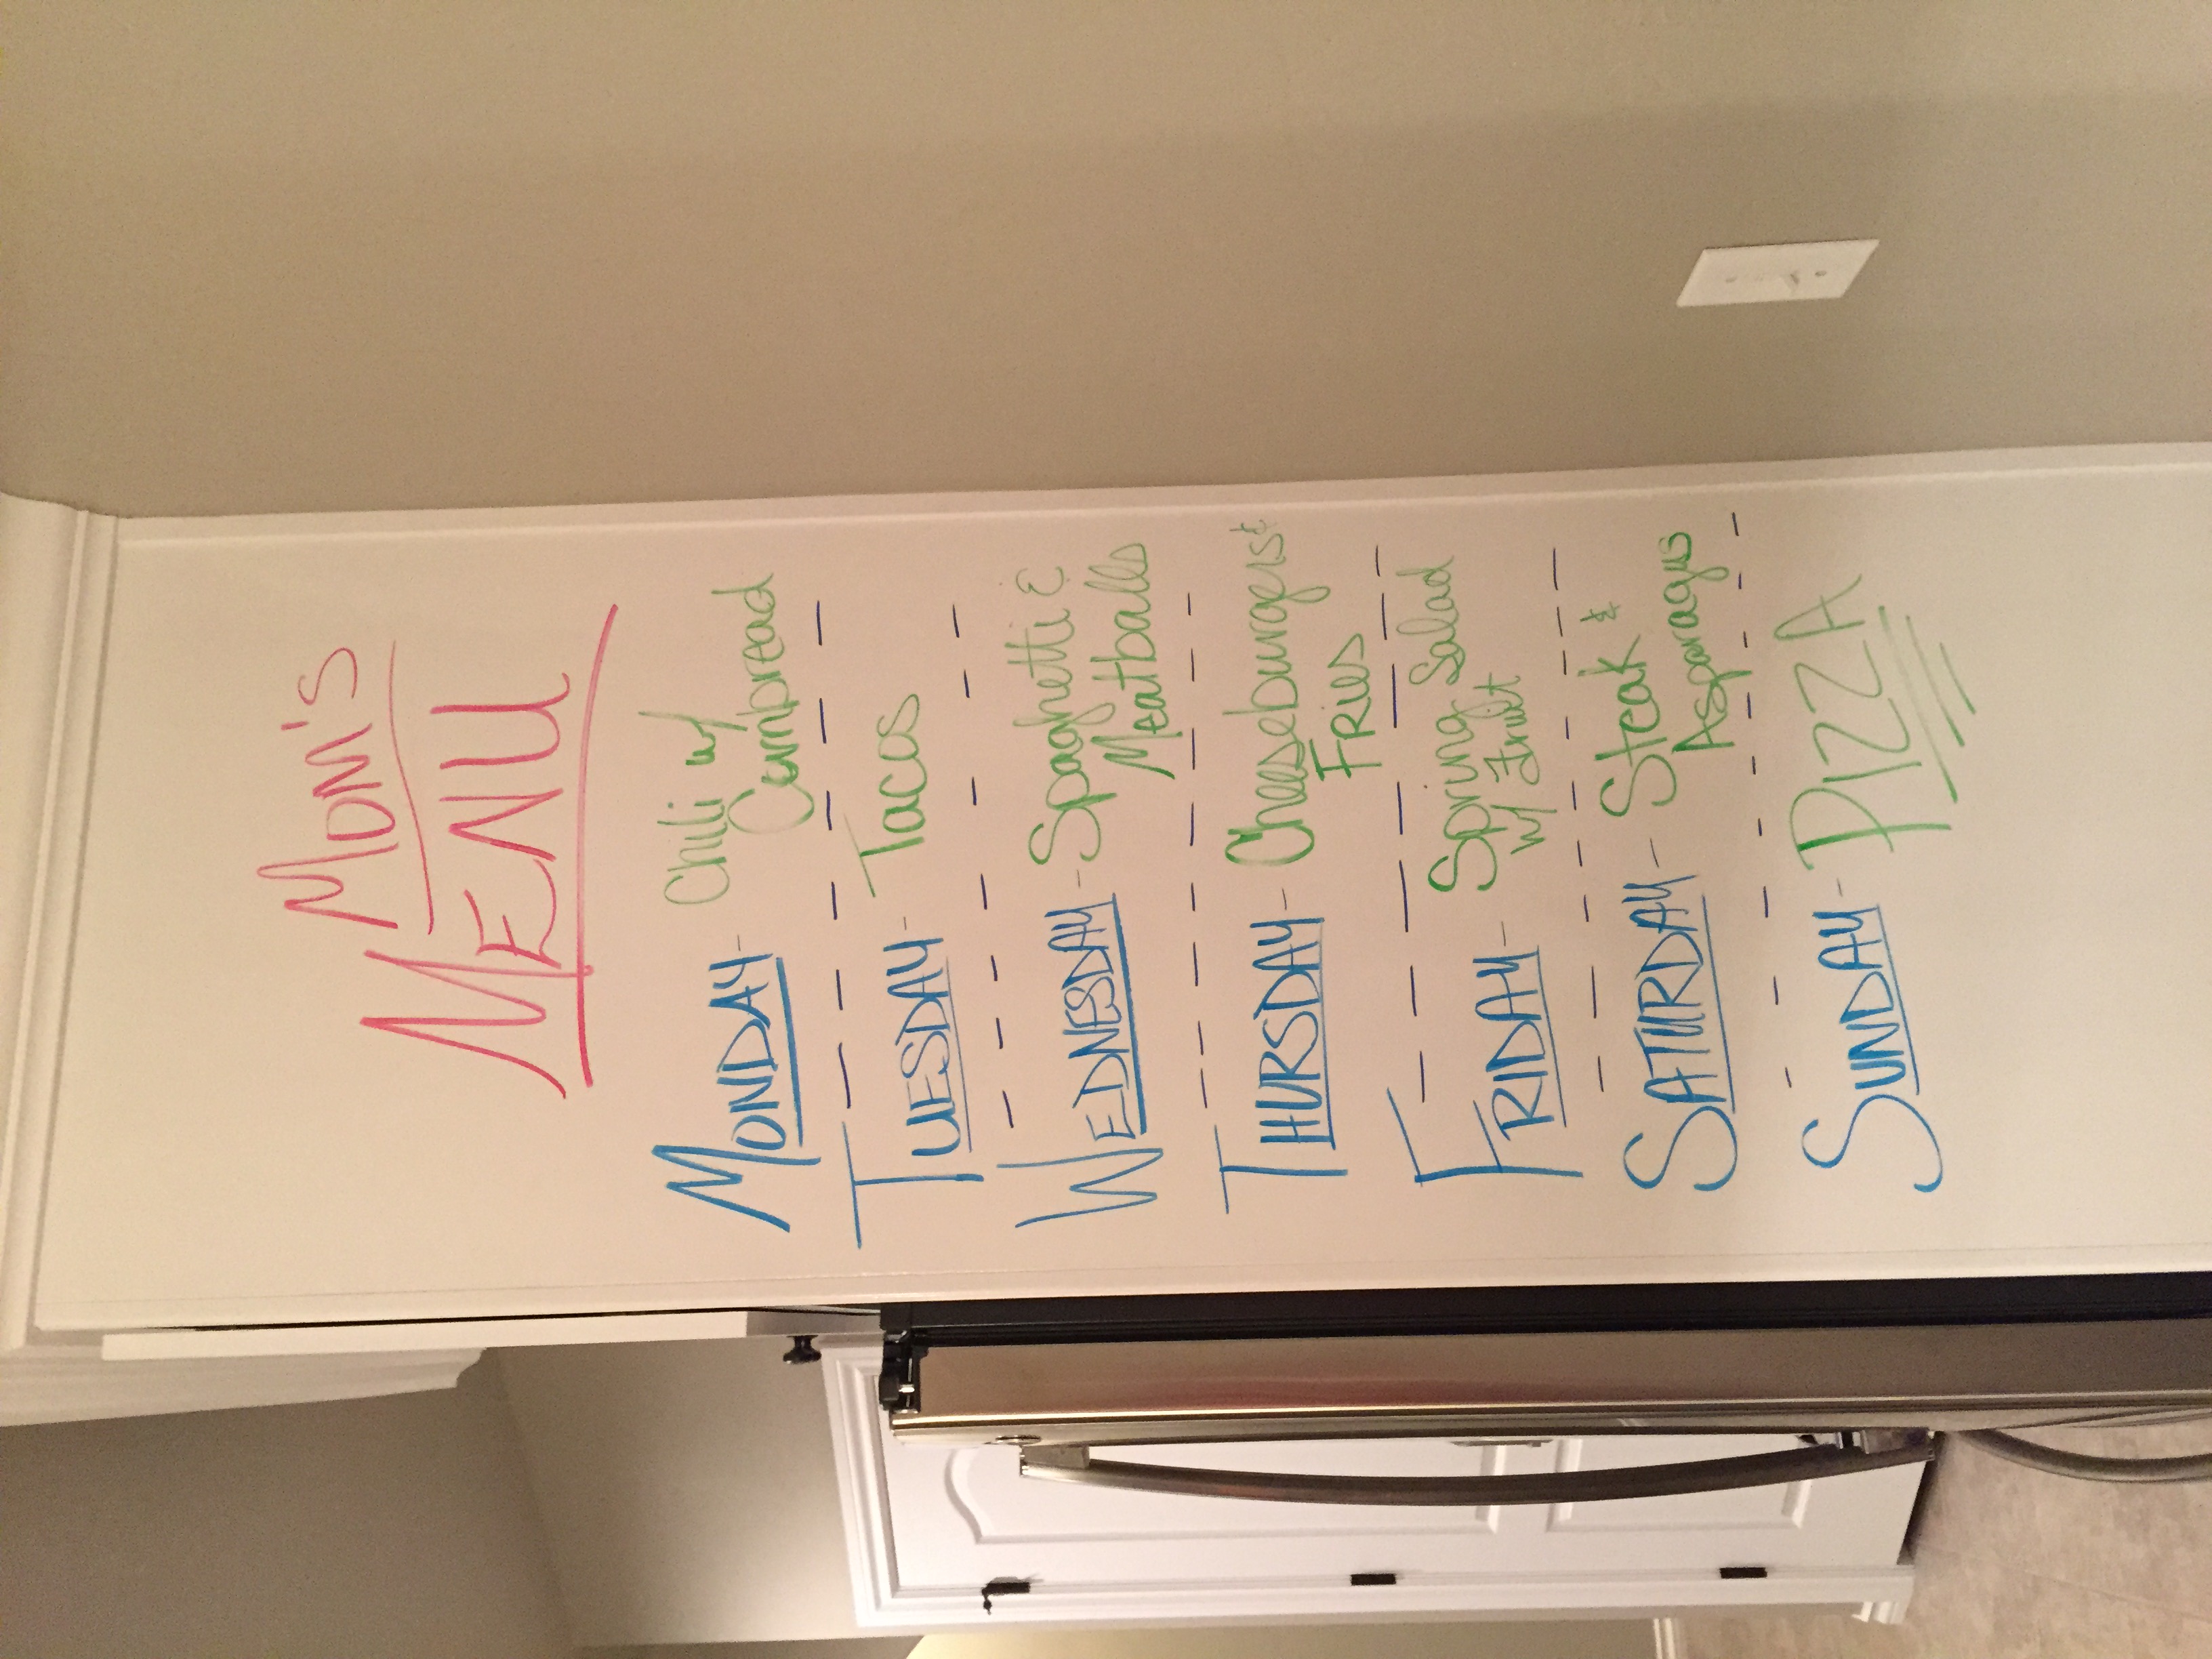
Krystle Holland is a mother of two who recently moved to a new city and started a new job. Her house stays busy with the constant flow of activities. Dinner has to be a planned effort with the going and doing on a nightly basis. Krystle is a Pinterest machine and is always looking for creative ideas. She applied Smark!® to the side of her wall next to the refrigerator to create a space to display the food menu for the week. Below we have documented her quick and easy installation process. Look for pictures of her Smark!® wall in action soon.

Prepping the space

IMG_0890

Reading the instructions is key with any project

IMG_0803 2

Sanding the wall. A smooth wall is key to a great writing surface

IMG_0869

Pour the “fill me” can into the paint tray.

IMG_0912

Stir for 3 minutes. It helps to play music during this process

IMG_0956

Fill Me goes into the tray and it’s Smark!® time!

IMG_0971

Cut in with a brush 1st

IMG_0988

Roll the rest. Be a smooth operator

IMG_1097

Remove the tape right after you finish and dispose of everything after the Smark paint has completely driedIMG_1233

Wash your hands and have a snack. You will be Smarking in 24 hours

IMG_1242

Smark!® wall in actionimage1

Smark Boxes

Get Smarking Today

BUY SMARK NOW Free shipping